Rear Cover & Cowl
Materials
| Hardware | Qty |
|---|---|
| Cowl PCB | 1 |
| Magnet 1/4in Countersunk | 4 |
| Radial Fan - 3010 | 4 |
| Nozzle LED | 1 |
| Cowl Logo LED | 1 |
| M3x8 SHCS | 2 |
| M2x8 SHCS | 1 |
| M2x16 SHCS | 1 |
| M2x8 FHCS | 4 |
| M3 Nyloc Nut | 3 |
| M2 Hex Nut | 2 |
| M3x5.7 Brass Insert | 2 |
| Part Cooling Fan Cables |
|---|
| Z-117 |
| Z-118 |
| Z-119 |
| Heatsink Fan Cable |
| Z-120 |
| Nozzle LED Cable |
| Z-98 |
| Logo LED Cable |
| Z-99 |
| Printed Parts | Qty |
|---|---|
| Fan Screw Spacer | 2 |
| Toolhead Cowl | 1 |
| Toolhead Cowl Heatbreak Duct | 1 |
| Toolhead Cowl Logo Insert | 1 |
| Toolhead Cowl Logo Insert Clip | 1 |
| Toolhead Cowl Logo | 1 |
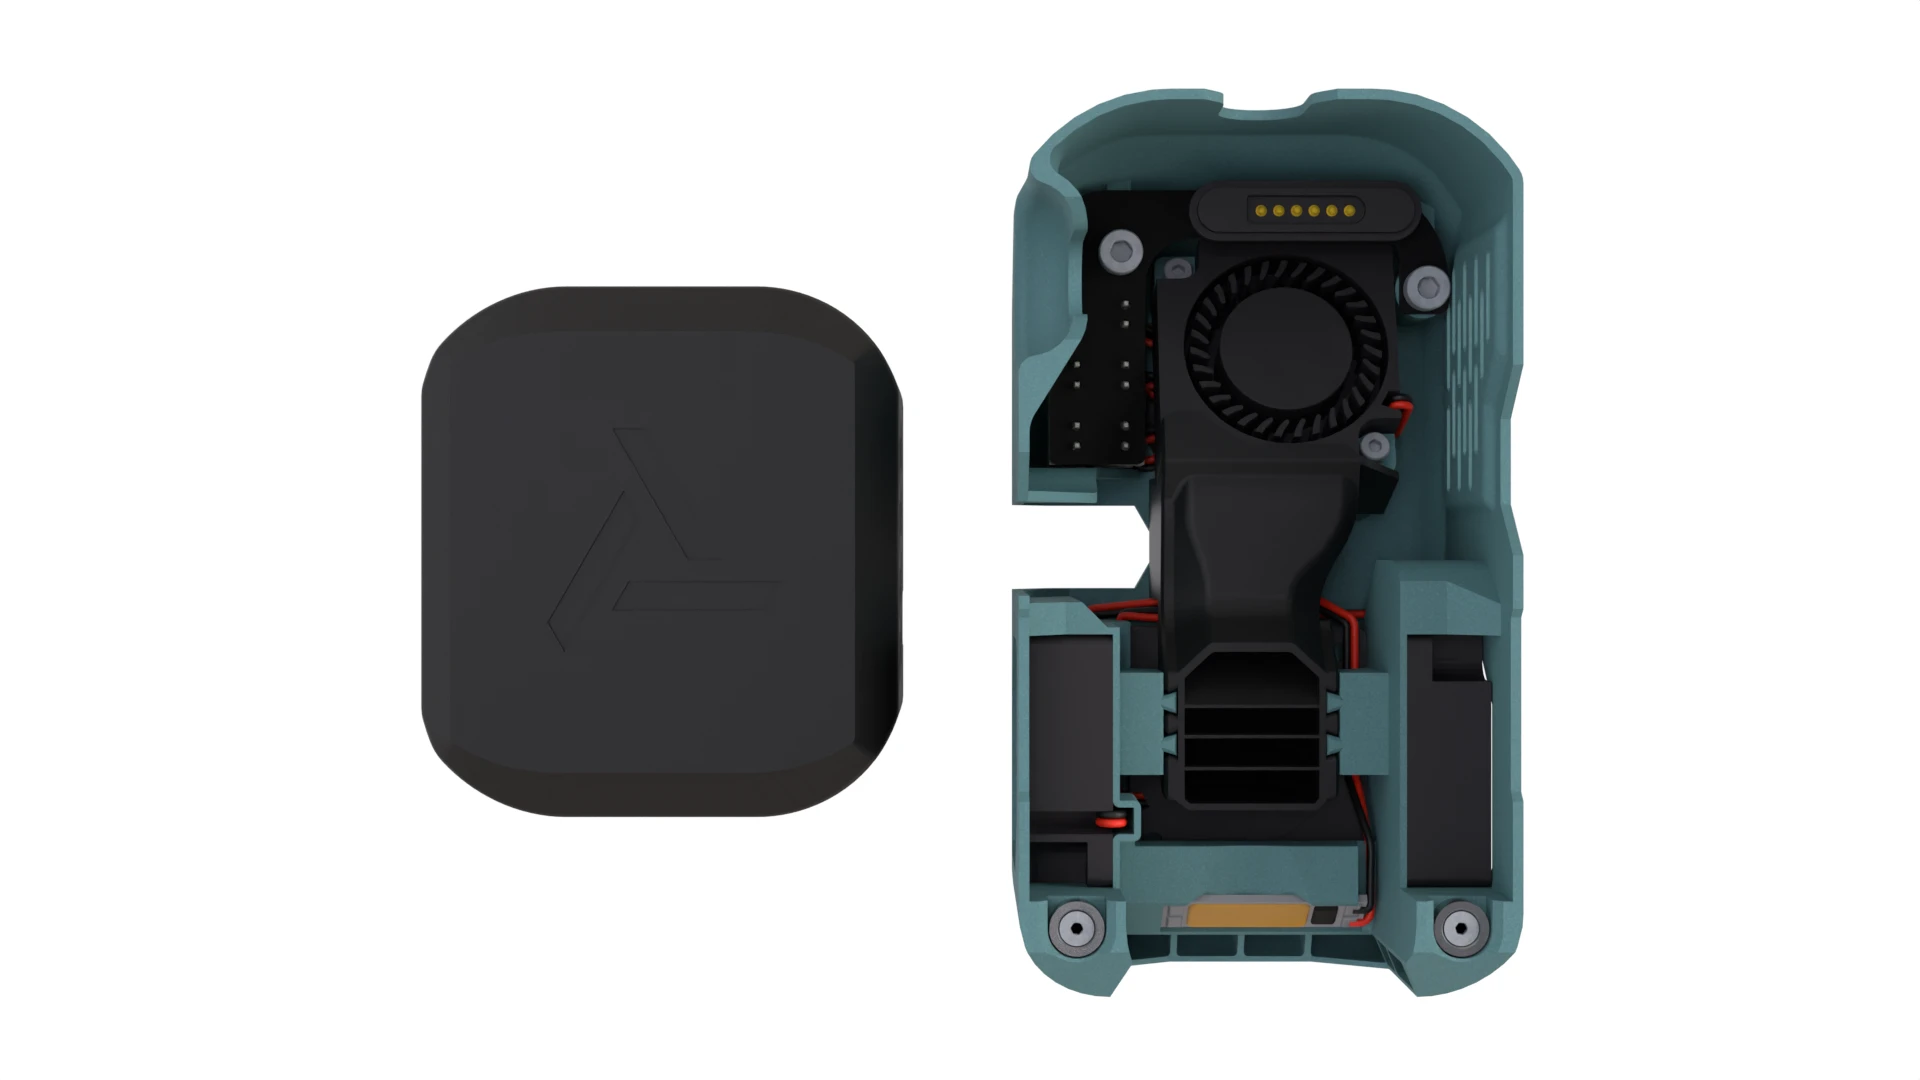
Animated Assembly
Assembly Notes
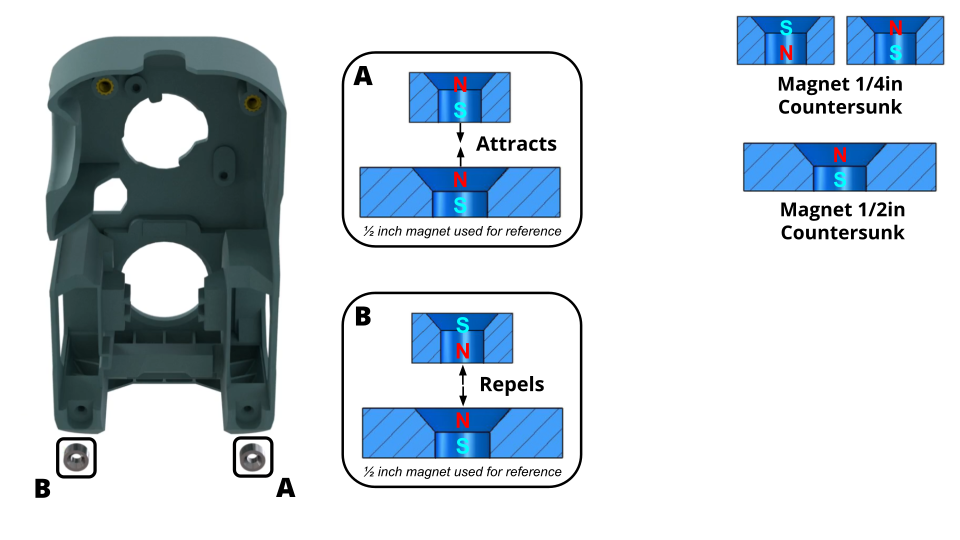
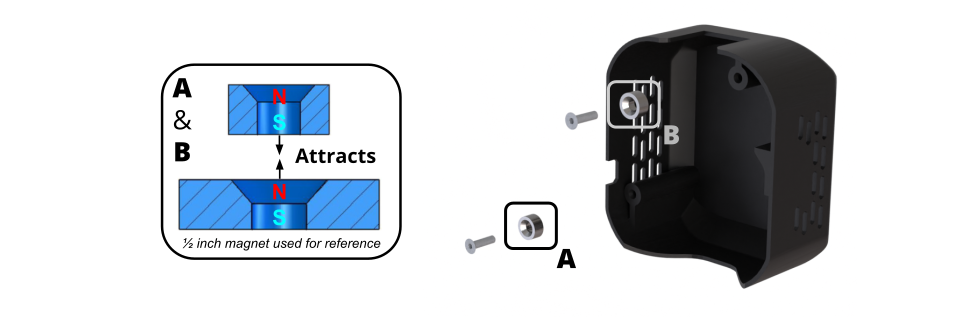
- 8:02 Magnet polarity graphic is below.
- 10:20 This is easiest with the back of the Cowl (the open part) face up so gravity can help. M2 screws can be loosely threaded while while cables are checked and adjusted.
- 10:42 Optional, but recommended to keep the Logo Insert Clip attached.
- 11:32 The Cowl is fairly tough, but just be careful not bend it too much.
- 12:00 Always remove the Cowl and Rear Cover before installing or removing the Extruder Plate assembly.
- 12:07 One day, maybe E3D will make a Revo HeaterCore where the wires exit vertically; but until that day, please be careful with the strain relief when installing or removing. Tilting the top of the Extruder Plate assembly back slightly so that it makes contact in the rear first when pulled by the magnets can help with this.
Magnet Polarity