Firmware
Vertigo machines run Kalico which is a forked version of Klipper Firmware. That is the installation presented in this guide. You can read more about the project and its efforts to improve upon Klipper in the Kalico Documentation.
The Kalico installation directory, firmware service, etc. still contain references to Klipper for compatibility reasons.
Esoterical CAN BUS Guide is useful for guidance with flashing firmware via katapult and CAN setup. It should not be needed unless you run into issues.
1. Install Raspberry Pi OS Lite
- Ensure sure the Raspberry Pi CM4 module is properly installed into the Manta M8P V2 mainboard.
- Insert one of the SD Cards into your computer.
- Download, install, and run the Raspberry Pi Imager.
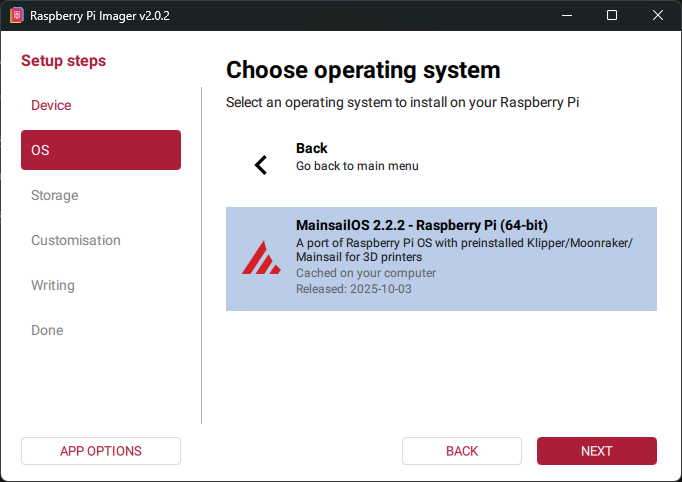
- In the Device tab, select Raspberry Pi 4, and click NEXT.
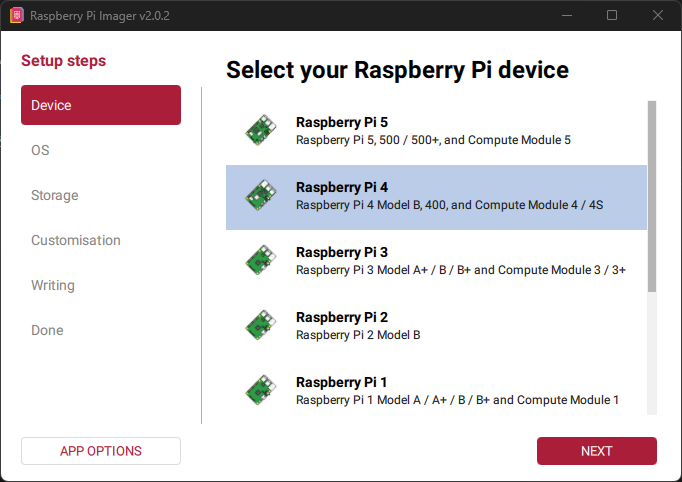
- In the OS tab, scroll down and select Raspberry Pi OS (Other).
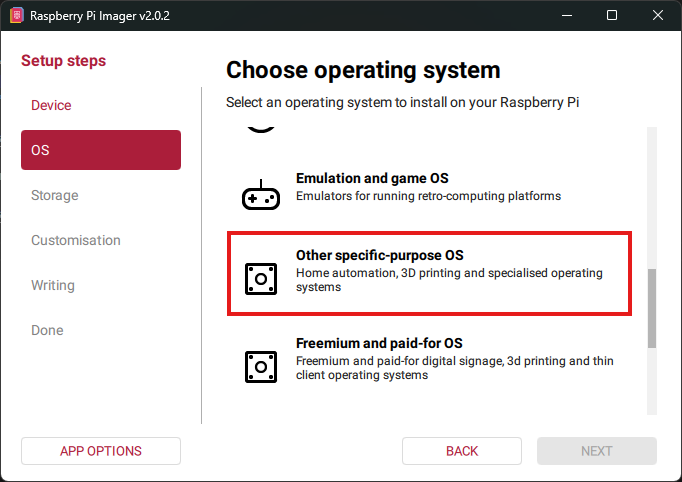
- Select Raspberry Pi OS Lite (64-bit) click NEXT.
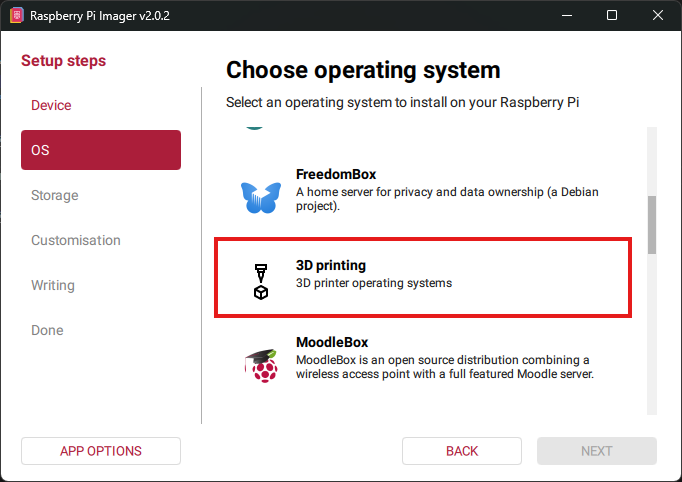
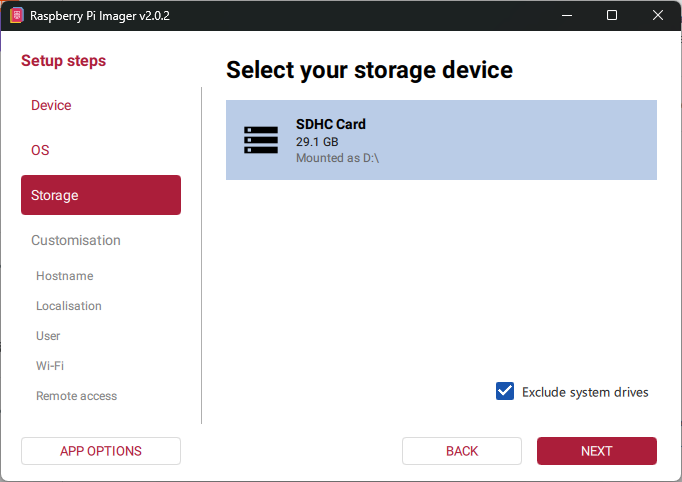
- In the Storage tab, select the SD Card you inserted and click NEXT.
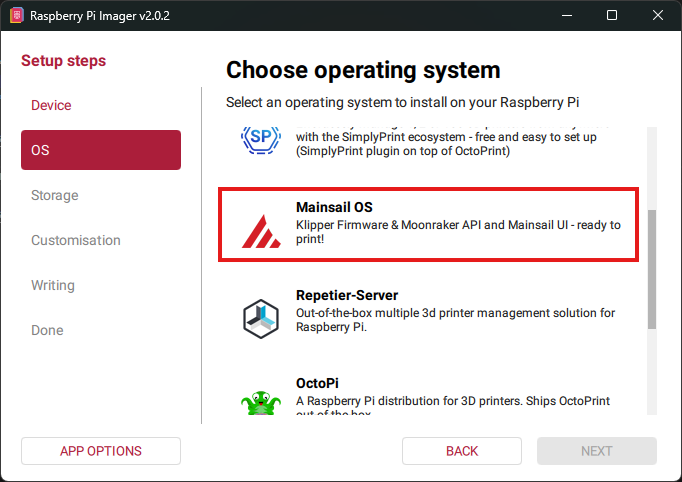
- Enter “vertigo-host” and click NEXT.
- Specify your locale and click NEXT.
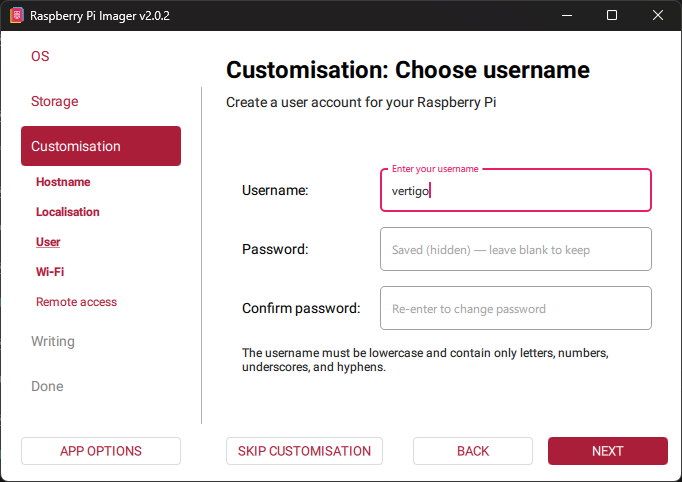
- Set the username and password you’ll use for SSH login and click NEXT. Use vertigo/vertigo if you’re in need of inspiration.
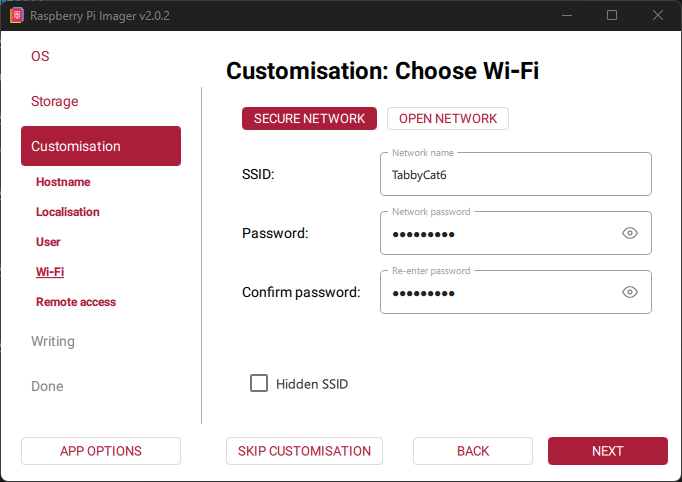
- Enter your Wi-Fi info and click NEXT.
- Enable SSH and click NEXT.
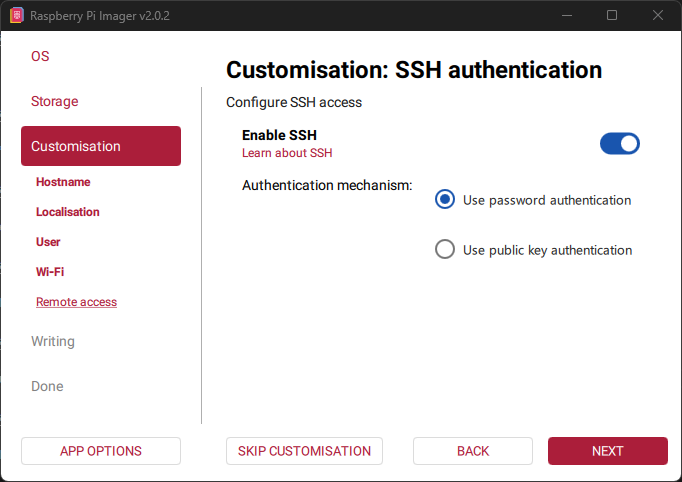
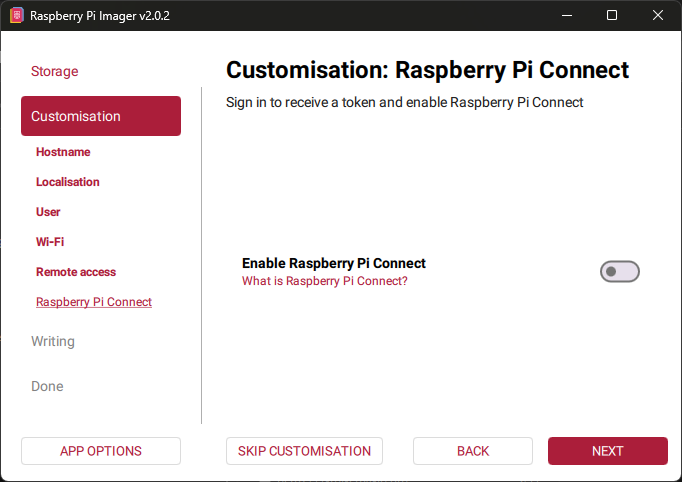
- We left Pi Connect off, but you do you and click NEXT.
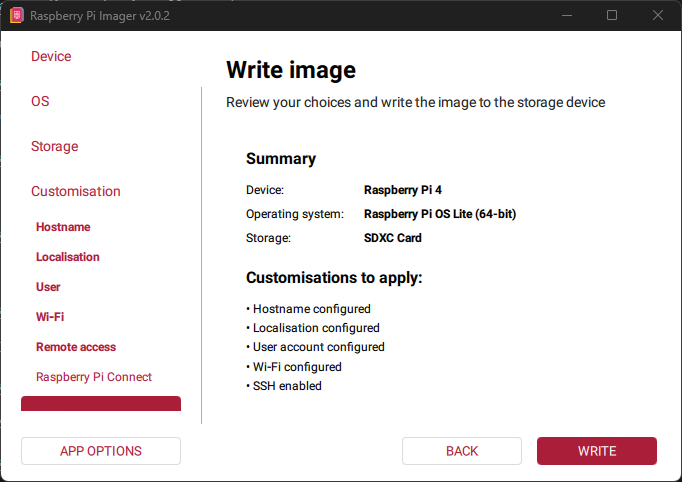
- Double check the device and operating system and click WRITE. You’ll be asked to confirm.
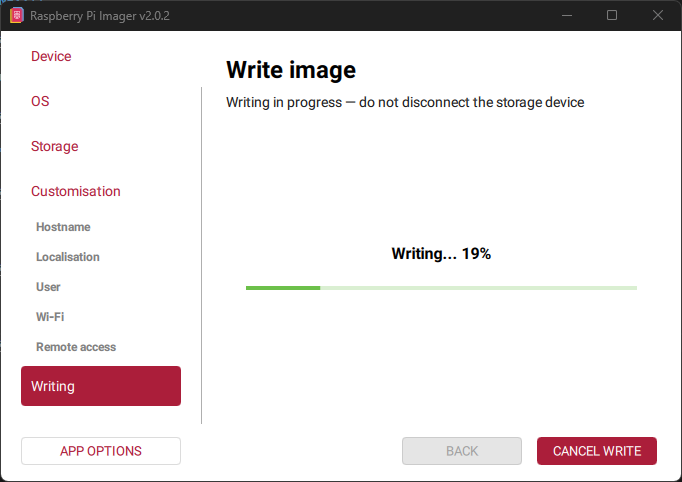
- Acknowedge the foreboding prompts ONLY IN THE PI IMAGER SOFTWARE. Don’t format your SD card separately through your OS if it prompts. Grab a coffee, meditate, contemplate the vastness of the universe.
- Click FINISH and eject your SD Card.
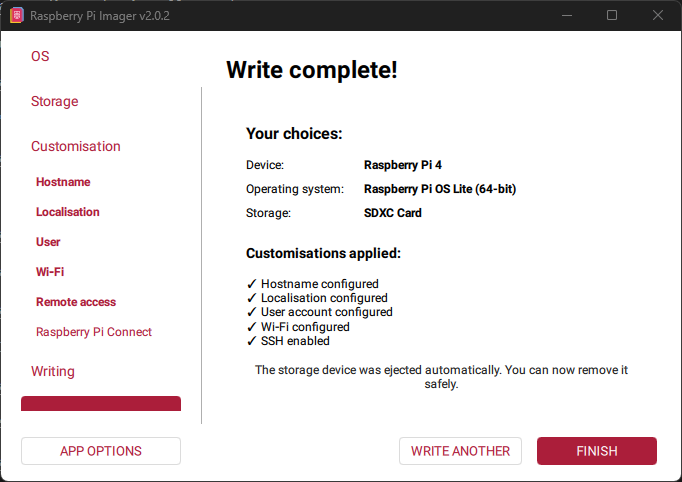
- Insert the SD card with the Pi OS image into the compute module slot as shown. You’ll need to remove the MCU Fan Duct to access it.
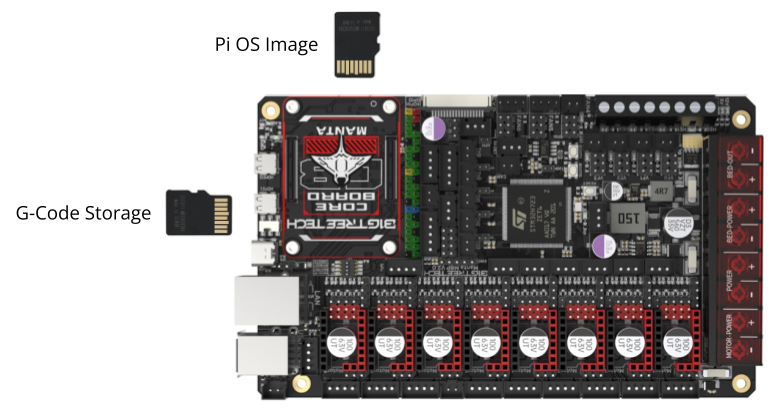
Keep the electronics panel off for now; you will need to access the mainboard to flash the firmware.
2. Setup the Pi CM4 with Klipper, Mainsail, and Other Software
- Turn on the machine, take a few deep breaths, and recite some positive affirmations.
- Open a terminal on your computer and SSH into the printer host.
ssh vertigo@vertigo-host
If the hostname is not found, check the username and hostname from the previous section. You may need to troubleshoot the network connection by logging into your router. Also, make sure you’re using the latest Raspberry Pi Imager. Older versions would default to a different hosstname.
- Run the commands below to download the setup script, make it executable, and run it. You will be prompted for the password created in the previous section.
curl -L -o "vertigo_setup.sh" "https://raw.githubusercontent.com/AutomatedLayers/VertigoMk1/refs/heads/main/software/vertigo_setup.sh"
chmod +x vertigo_setup.sh
./vertigo_setup.sh
- The system will reboot when the setup script is finished. Wait a couple minutes for the lights on the board to stabilize before continuing.
3. Flash Katapult to M8P V2 Mainboard MCU
- We use Katapult because once it is flashed, it is no longer necessary to push physical buttons on the boards or connect different cables to update firmware.
- Put the M8P V2 in DFU mode. Hold the BOOT0 button and while still holding press and release the RESET button. Then count to 5 and release the BOOT0 button.
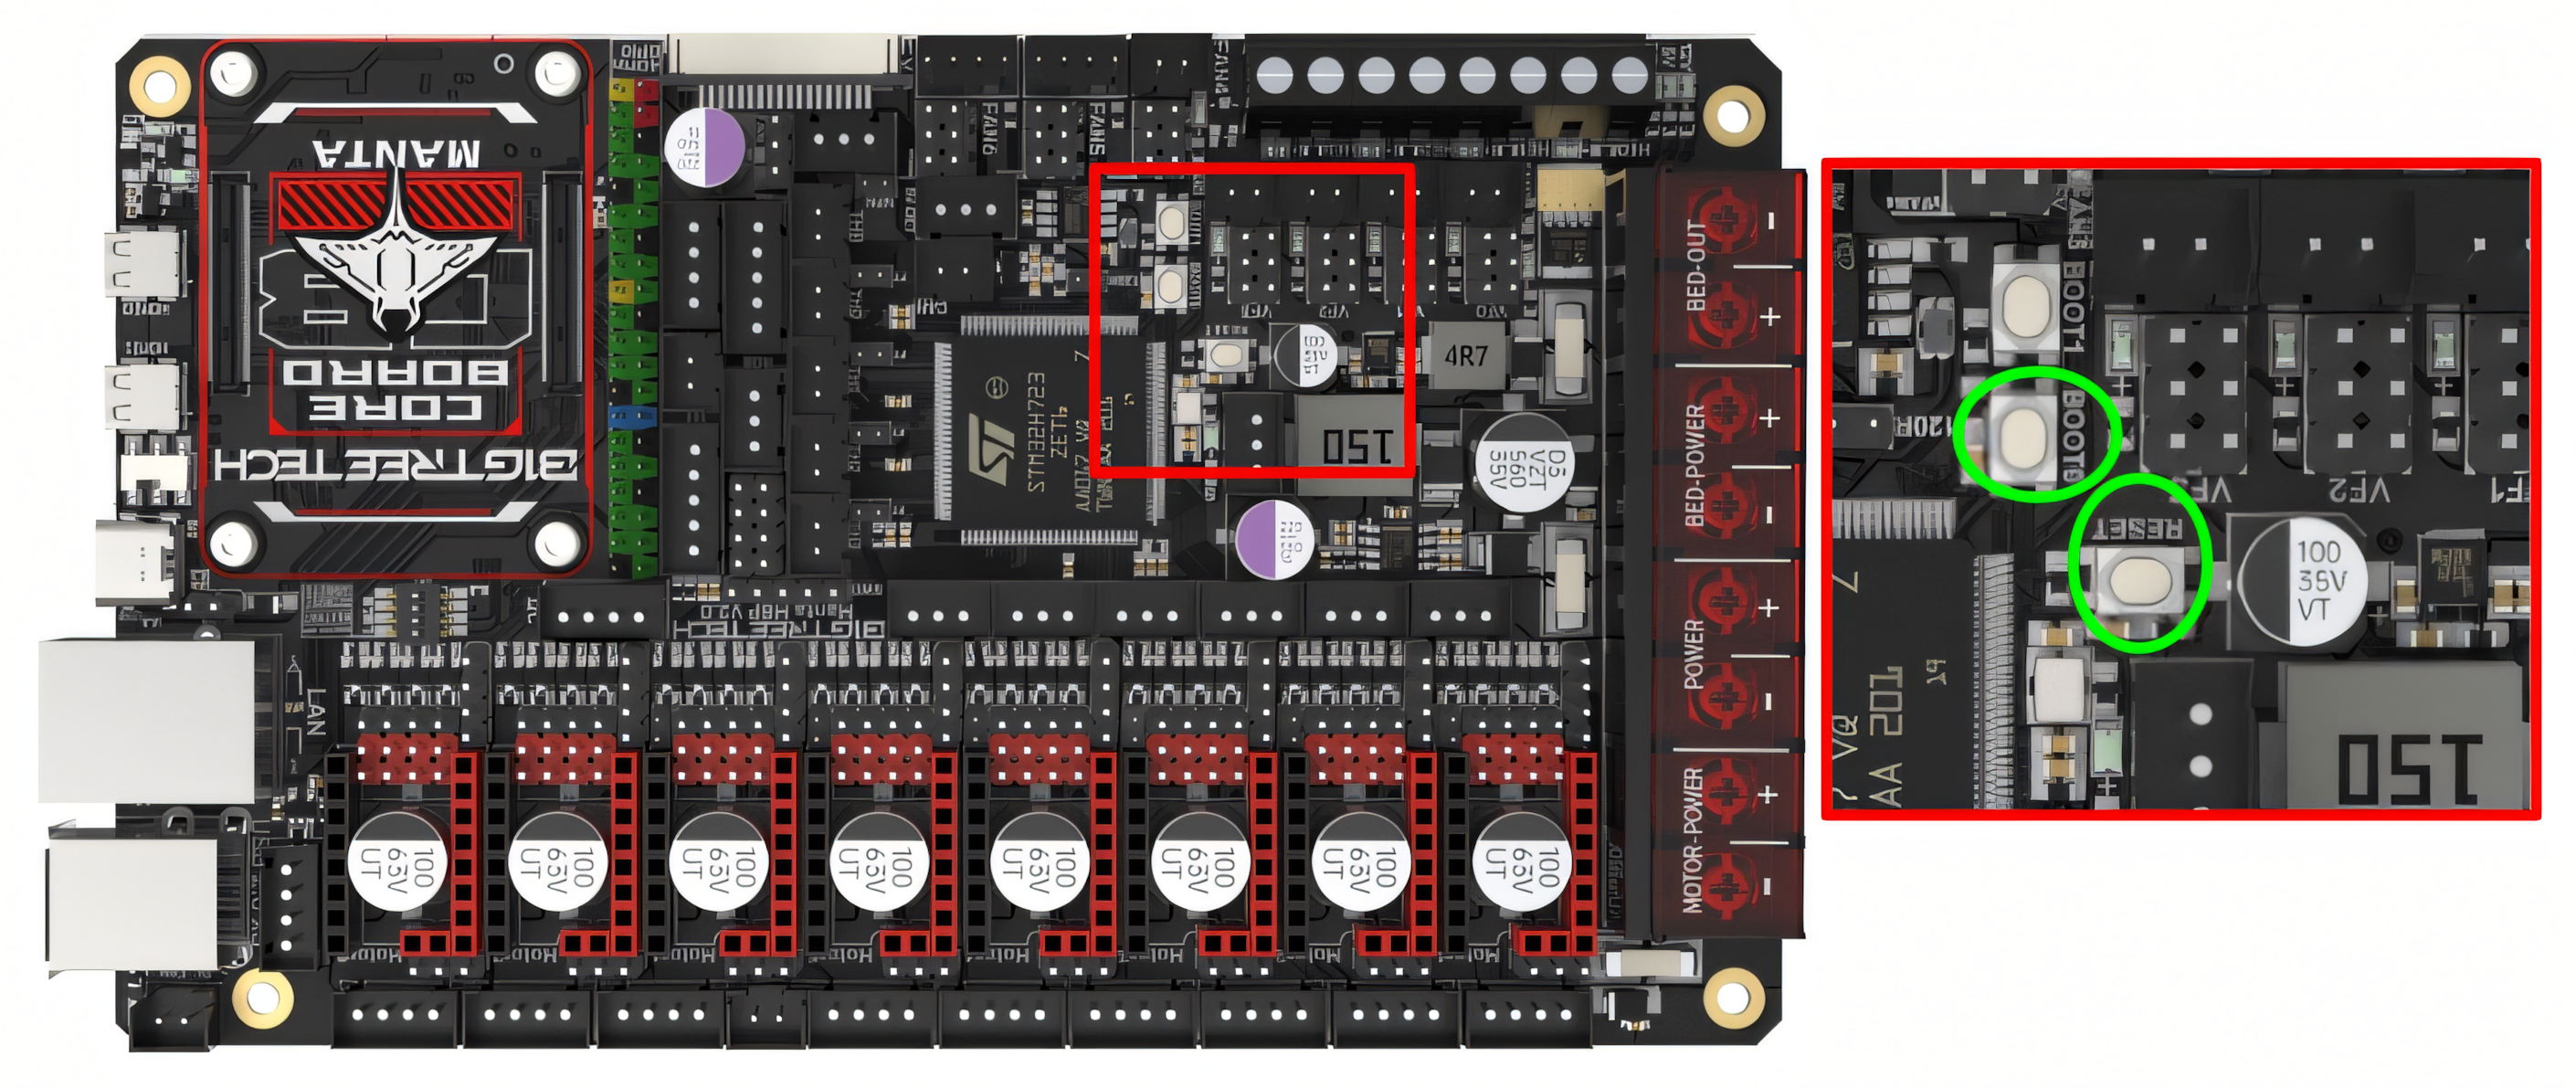
- SSH back into the system from the terminal.
ssh vertigo@vertigo-host
- Confirm that the board is in DFU mode.
lsusb
- You should see the line below in the output. If not, repeat the step to enter DFU mode above.
Bus 001 Device 005: ID 0483:df11 STMicroelectronics STM Device in DFU Mode
- Compile and flash Katapult for the M8P V2.
cd ~/katapult
cp ~/katapult/M8Pv2_katapult.config ~/katapult/.config && make -C ~/katapult clean && make -C ~/katapult
sudo dfu-util -R -a 0 -s 0x08000000:mass-erase:force:leave -D ~/katapult/out/katapult.bin -d 0483:df11
If the result shows Error during download get_status or something, but above it is File downloaded successfully then the flash was OK and that error can be ignored. If there was a different error and NO File downloaded successfully then try:
sudo dfu-util -R -a 0 -s 0x08000000:leave -D ~/katapult/out/katapult.bin -d 0483:df11
- Double click the RESET button to enter Katapult mode.
- Check the usb-katapult device id.
ls /dev/serial/by-id
- You should see something like the output below. If not, check this section of the Esoterical CAN BUS Guide.
usb-katapult_stm32h723xx_0E000E000251313239393734-if00
4. Flash Kalico to M8P V2 Mainboard MCU via Katapult
- Compile and flash Kalico via Katapult.
cd ~/klipper
cp ~/klipper/M8Pv2_klipper.config ~/klipper/.config && make -C ~/klipper
sudo service klipper stop
python3 ~/katapult/scripts/flashtool.py -f ~/klipper/out/klipper.bin -d /dev/serial/by-id/$(ls /dev/serial/by-id/)
- Check to see if the M8P V2 is on the CAN network.
python3 ~/katapult/scripts/flashtool.py -i can0 -q
- You should see output as shown below. If not, check this section of the Esoterical CAN Bus Guide.
Resetting all bootloader node IDs...
Checking for Katapult nodes...
Detected UUID: 758a132d0725, Application: Klipper
CANBus UUID Query Complete
- Run this command to add the Mainboard MCU CAN UUID to a note CAN UUID.txt in the home directory. We will come back to this.
echo "mainboard mcu: $(python3 ~/katapult/scripts/flashtool.py -i can0 -q | grep 'Application: Klipper' | grep -oP 'Detected UUID: \K[0-9a-fA-F]+')" | tee -a ~/CAN\ UUID.txt
5. Flash Katapult to SHT36 V3 Toolhead Board
The 120 Ohm Resistor and CAN Mode switches should have already been configured here.
- Unplug the XT30 cable from the SHT36 V3.
- Connect the USB-A side of a USB-A <–> USB-C cable to the M8P. We tried and had issues with a USB-C <–> USB-C cable.
- Put the SHT36 V3 in boot mode. While holding the BOOT button on the SHT36 V3, plug in the USB-C side of the cable.
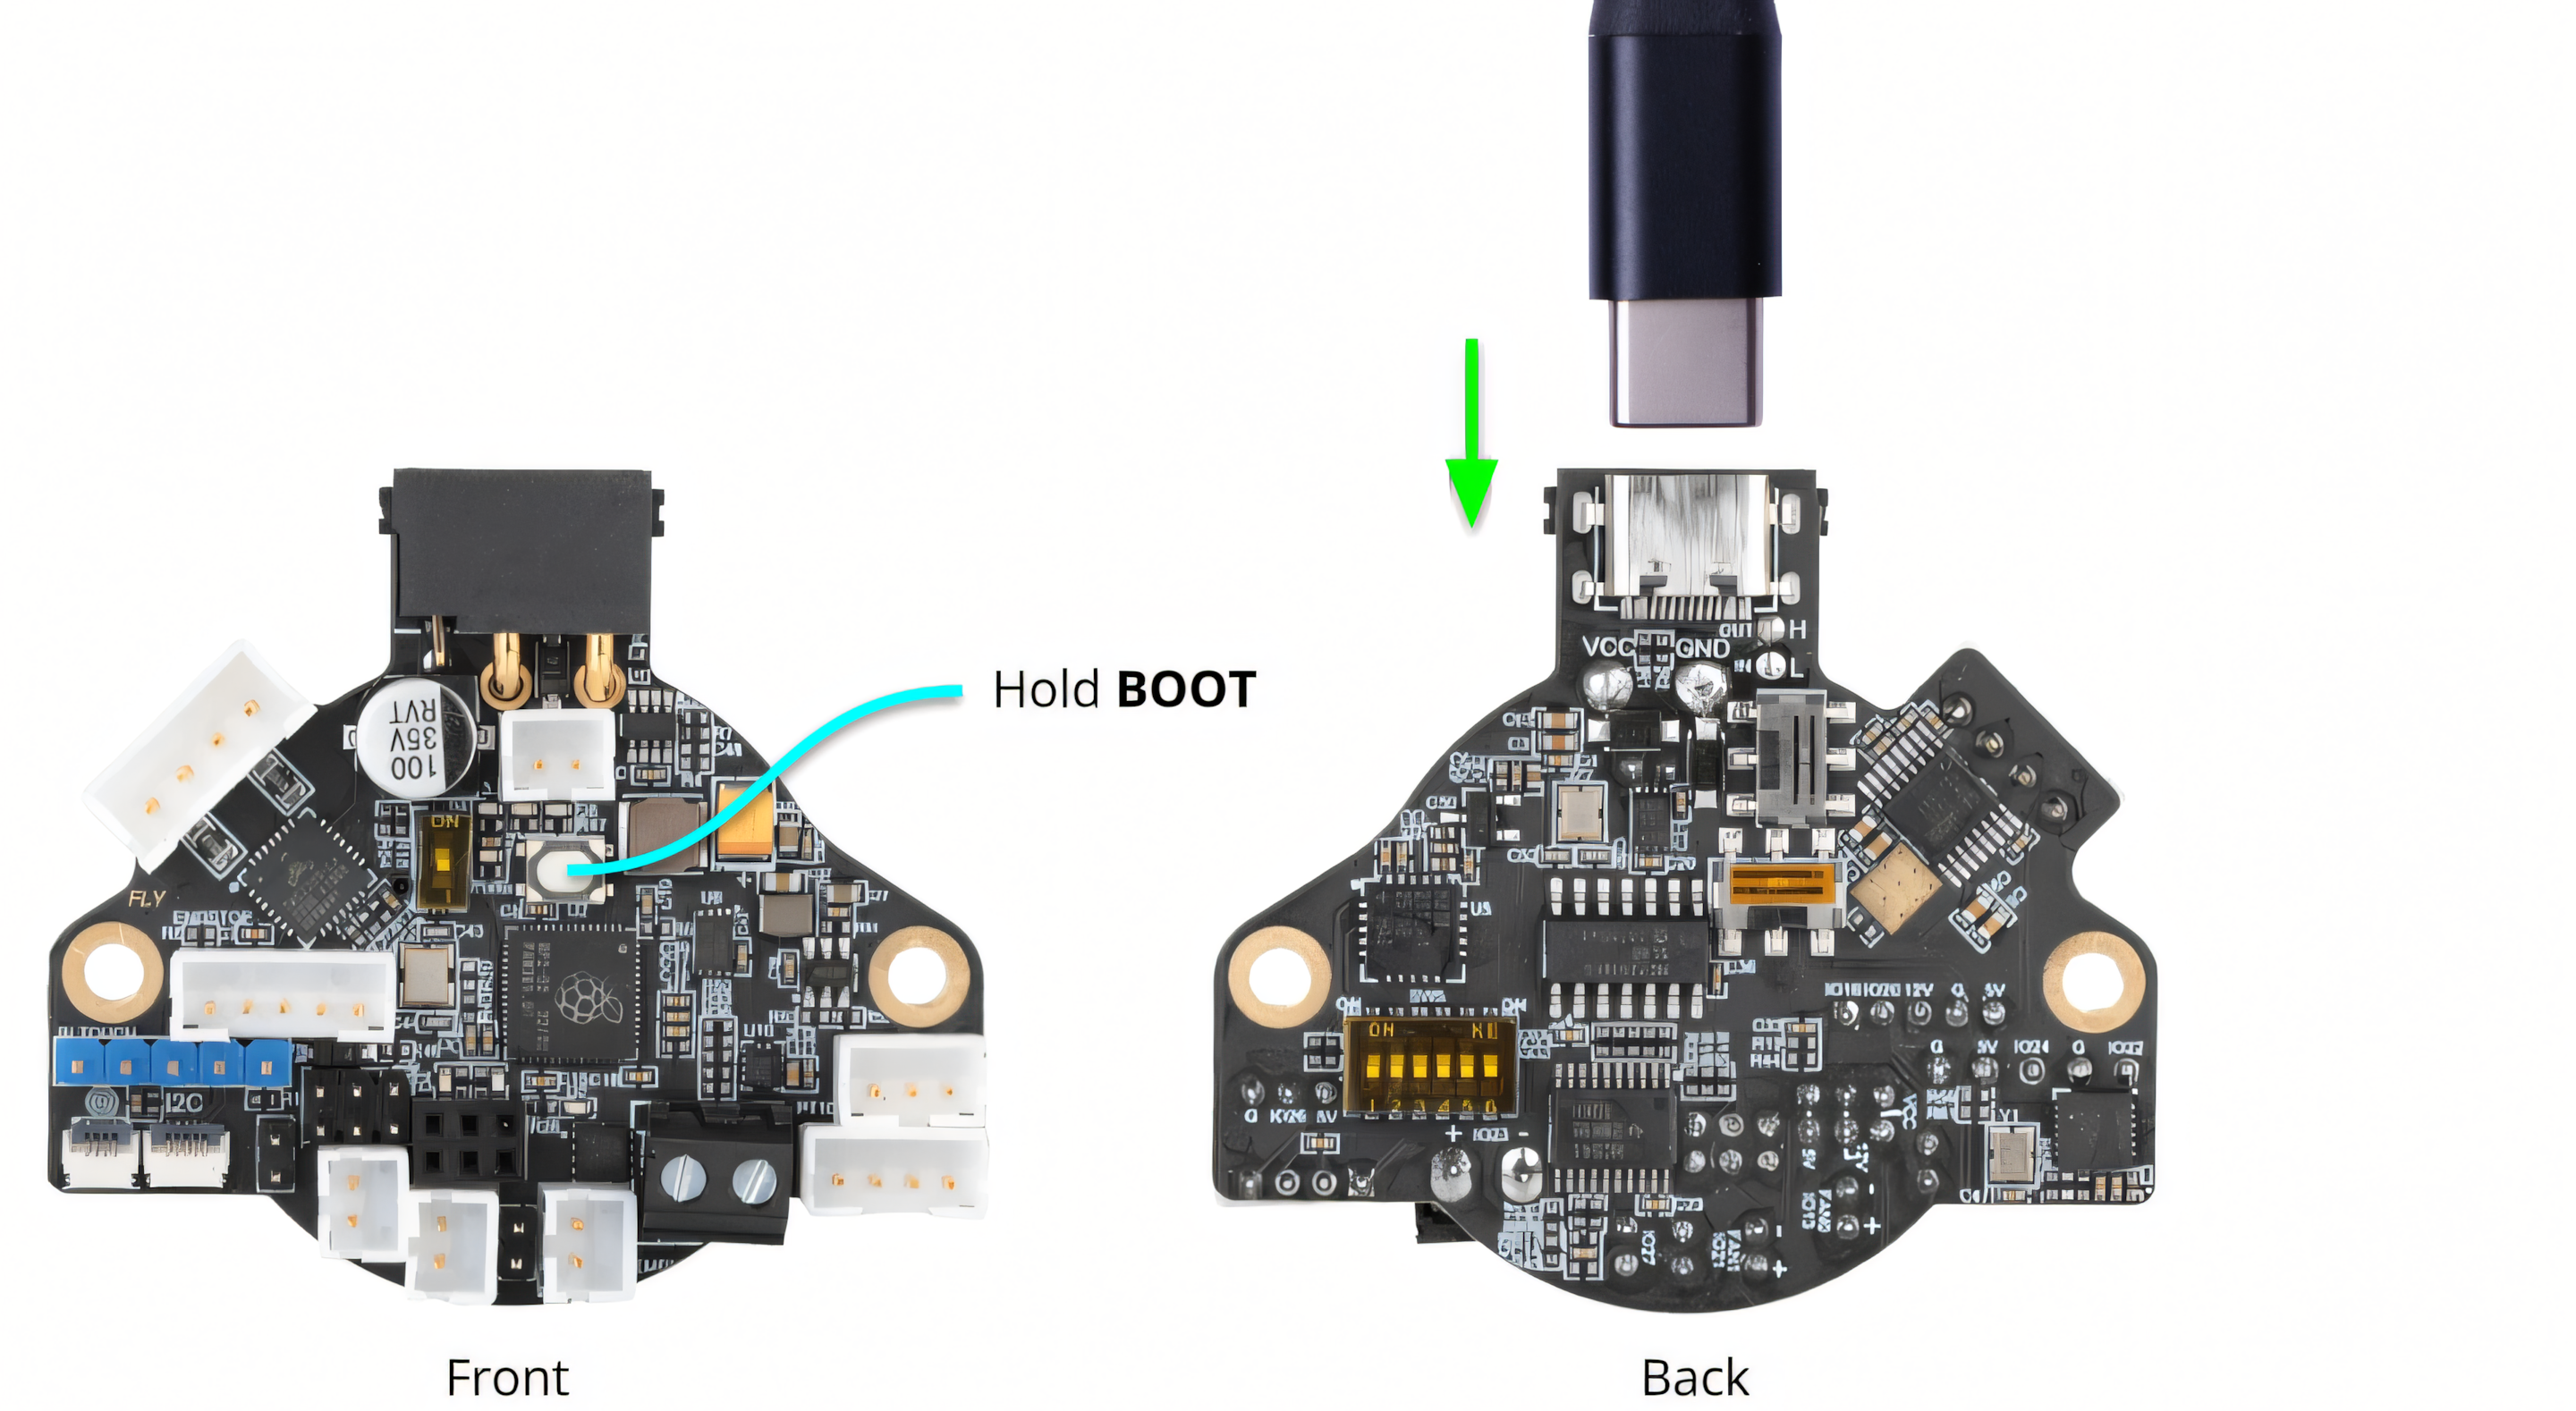
- Confirm that the board is in boot mode.
lsusb
- You should see the line below in the output. If not, repeat the step to enter boot mode above.
Bus 001 Device 005: ID 2e8a:0003 Raspberry Pi RP2 Boot
- Compile and flash Katapult for the SHT36 V3.
cd ~/katapult
cp ~/katapult/SHT36v3_katapult.config ~/katapult/.config && make -C ~/katapult clean && make -C ~/katapult
make flash FLASH_DEVICE=2e8a:0003
Shut down the system.
sudo shutdown now
- Turn the printer power switch OFF.
- Unplug the USB cable from mainboard and toolhead.
- Plug the XT30 cable back into the toolhead.
- Turn the printer power switch ON. Wait a couple minutes for the lights on the board to stabilize before continuing.
6. Flash Kalico to SHT36 V3 Toolhead Board MCU via Katapult over CAN
- SSH back into the system from the terminal.
ssh vertigo@vertigo-host
- Check to see if the SHT36 V3 is on the CAN network and in Katapult mode.
python3 ~/katapult/scripts/flashtool.py -i can0 -q
- You should see output as shown below. If not, check this section of the Esoterical CAN Bus Guide.
Resetting all bootloader node IDs...
Checking for Katapult nodes...
Detected UUID: 5db058c66e4a, Application: Katapult
CANBus UUID Query Complete
- Add the Toolhead MCU CAN UUID to a note CAN UUID.txt in the home directory. We will come back to this.
echo "toolhead mcu: $(python3 ~/katapult/scripts/flashtool.py -i can0 -q | grep 'Application: Katapult' | grep -oP 'Detected UUID: \K[0-9a-fA-F]+')" | tee -a ~/CAN\ UUID.txt
- Compile and Flash Kalico via Katapult.
cd ~/klipper
cp ~/klipper/SHT36v3_klipper.config ~/klipper/.config && make -C ~/klipper
sudo service klipper stop
python3 ~/katapult/scripts/flashtool.py -i can0 -f ~/klipper/out/klipper.bin -u $(grep 'toolhead mcu:' ~/'CAN UUID.txt' | grep -oP 'toolhead mcu: \K[0-9a-fA-F]+')
7. Copy the CAN UUIDs to printer.cfg
- These commands should take the UUIDs from the note we made earlier and place them in the proper location in
~/printer_data/config/printer.cfgfor the mainboard and toolhead respectively.
sed -i "s/canbus_uuid: .*/canbus_uuid: $(grep 'mainboard mcu:' ~/'CAN UUID.txt' | grep -oP 'mainboard mcu: \K[0-9a-fA-F]+')/" ~/printer_data/config/printer.cfg
sed -i "/\[mcu toolhead\]/,/canbus_uuid:/ s/canbus_uuid: .*/canbus_uuid: $(grep 'toolhead mcu:' ~/'CAN UUID.txt' | grep -oP 'toolhead mcu: \K[0-9a-fA-F]+')/" ~/printer_data/config/printer.cfg
- We will verify the UUIDs when we look at Configuration.
- One more reboot and we should be good to go.
sudo reboot now
8. Open the Mainsail UI
- Congratulations! Head to vertigo-host.local to check out the web app.
- If you get a message saying Moonraker is unable to connect, try rebooting the host in the power menu in the top right.
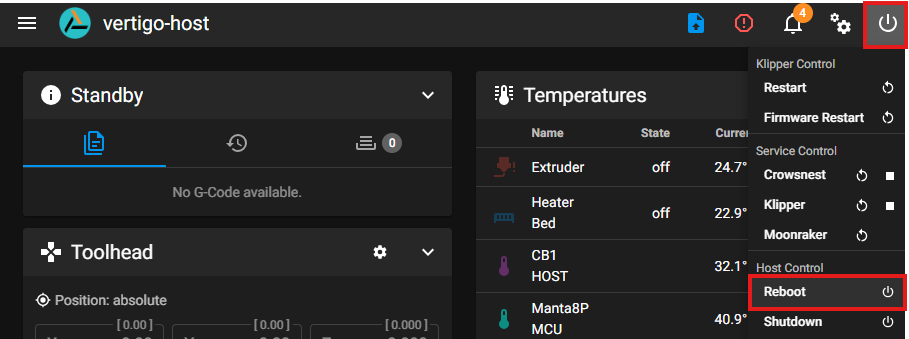
- If you are getting an ‘Unauthorized’ Error, add your ip address to the [authorization] section of your moonraker.conf.